Hopefully, you’ve decided upon your payment gateways by this stage. If you haven’t you can visit the WooCommerce Payments page.
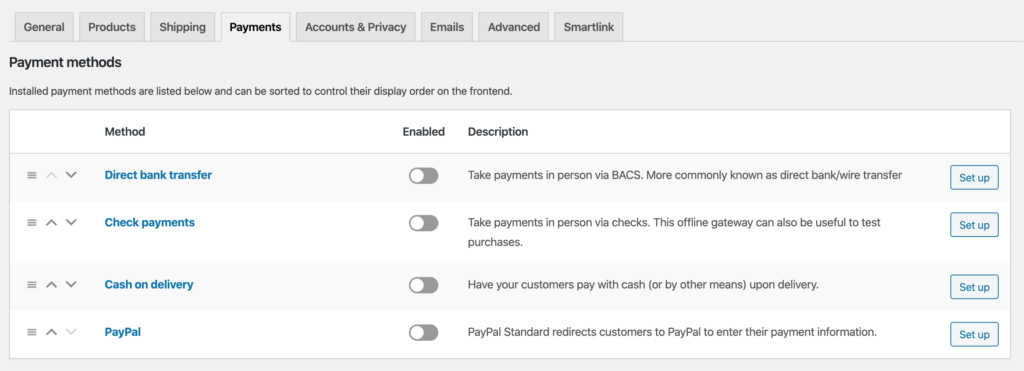
To get started on go to WooCommerce -> Settings -> Payments. By default, you will have Direct Bank Transfer, Check Payments, Cash on Delivery and PayPal. We suggest you at least use PayPal as it’s an industry standard and trusted by millions of people.
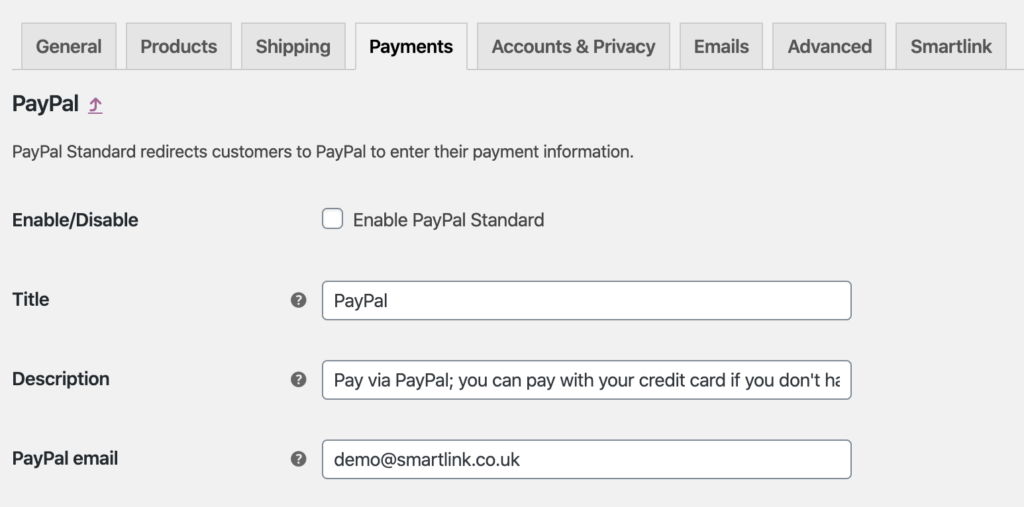
Start by clicking the Set Up button on the PayPal row, this will take you to the PayPal settings screen. The first option you’ll have is if you want to enable it. Click the Enable PayPal Standard checkbox to do this.
You can edit the Title if you want but we suggest you leave this as PayPal so people recognise it. There is a default Description which again you can change but it explains how the PayPal payment works. Finally, you need to enter your into the PayPal Email field so you can receive payments to your account. By default, the admin email will be placed here but the chances are your PayPal Email will be different, so make sure you change it.
There are advanced options if you really need them but for basic functionality, you don’t need to worry about this. WooCommerce covers the advanced functionality in their documentation.
Scroll to the bottom of the page and click Save Changes. PayPal should now be set up and you’re ready to take payments.